Docs
The payment methods that are available via Shopware 6:
| Country | 14-day invoice | Direct Debit | Fixed Installments | Pay in 3 |
|---|---|---|---|---|
| Austria | ✔ | ✔ | ✔ | |
| Germany | ✔ | ✔ | ✔ | |
| Netherlands | ✔ | ✔ | ||
| Belgium | ✔ | |||
| Denmark | ✔ | |||
| Finland | ✔ | |||
| Norway | ✔ | |||
| Sweden | ✔ | |||
| Switzerland | ✔ |
Please be sure to create a free Merchant Portal Account to get in contact with sales and complete the integration process.
Minimum Requirements:
Please note, the screenshots in the below instructions may vary slightly from your interface due to differing versions of Shopware 6.

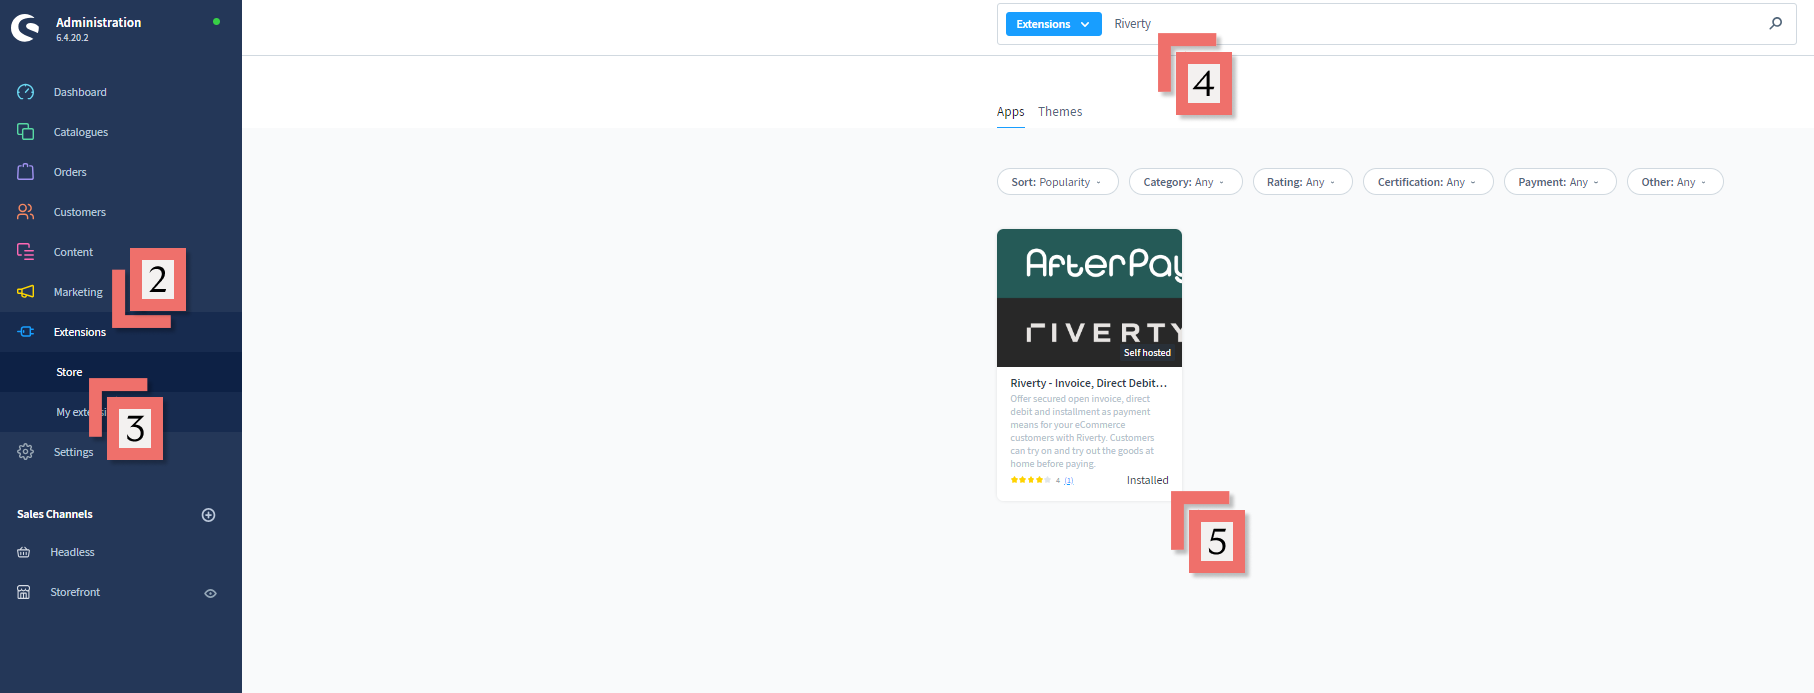

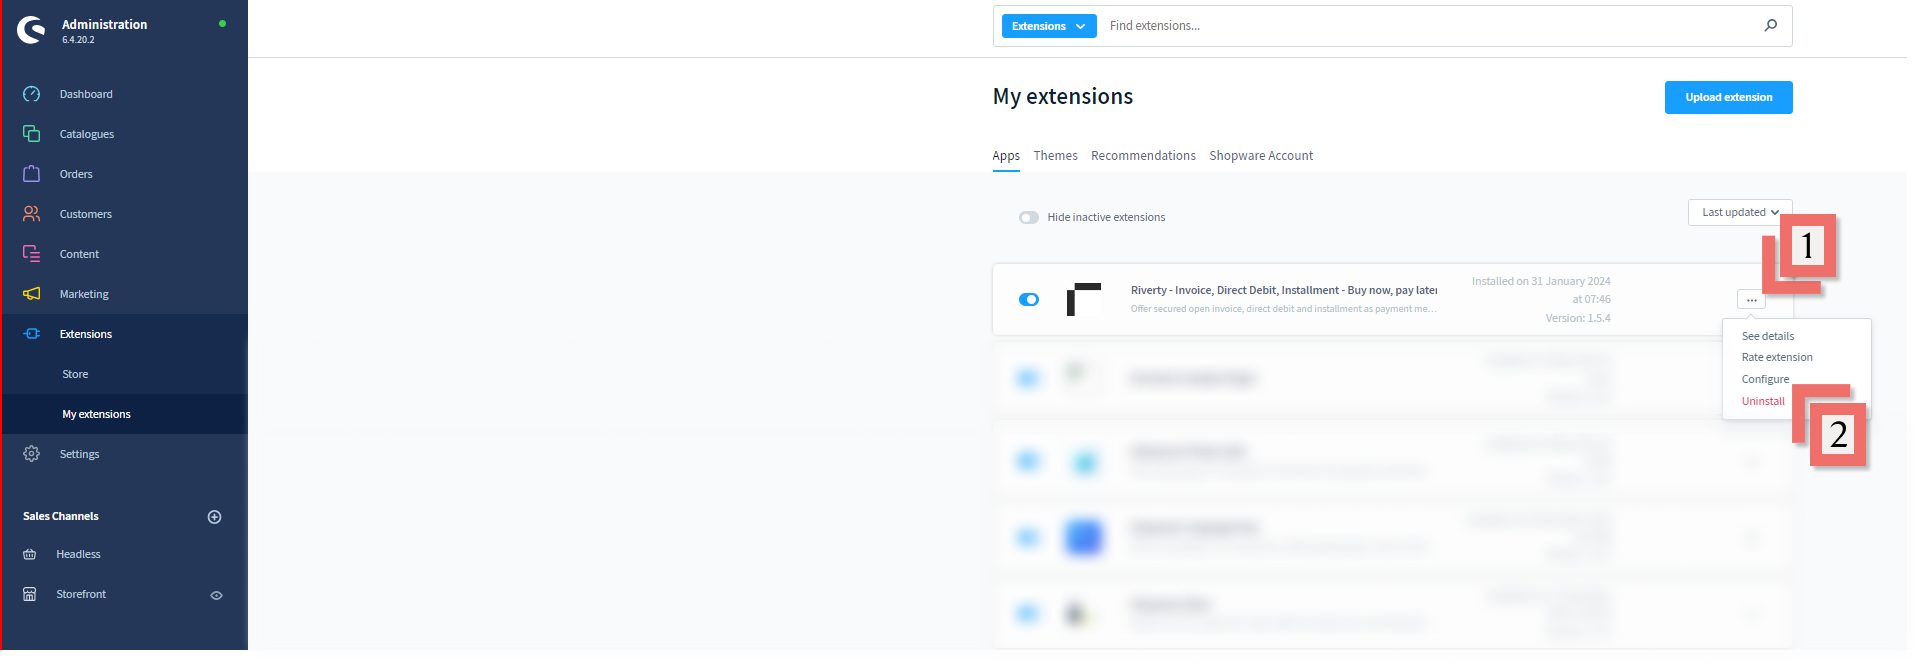
The Riverty Plugin provides several settings which need to be configured before the individual payment methods are configured. Access Plugin Configuration Panel
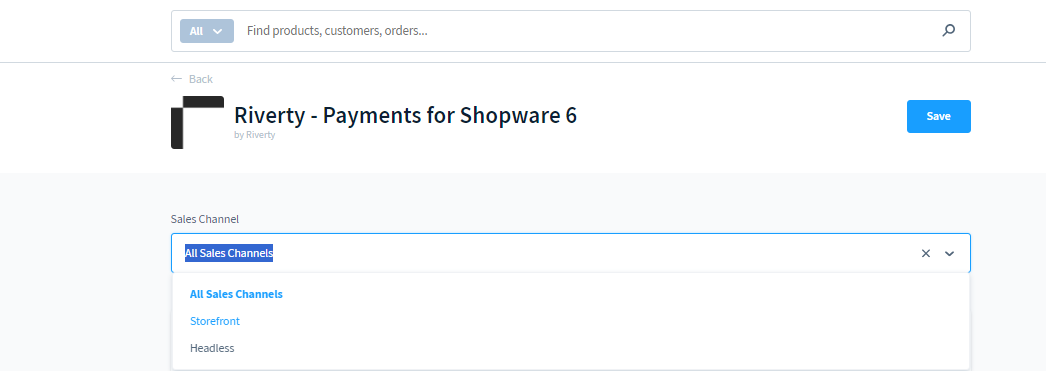
In Shopware, "Sales Channels" refer to different storefronts or sales channels through which you sell your products. Each sales channel represents a separate instance of your online store that can have its own unique branding, product assortment, pricing, and customer base. Sales channels in Shopware allow you to reach different target markets or cater to specific customer segments effectively. Choose the Sales Channel Settings that best fits your shop.
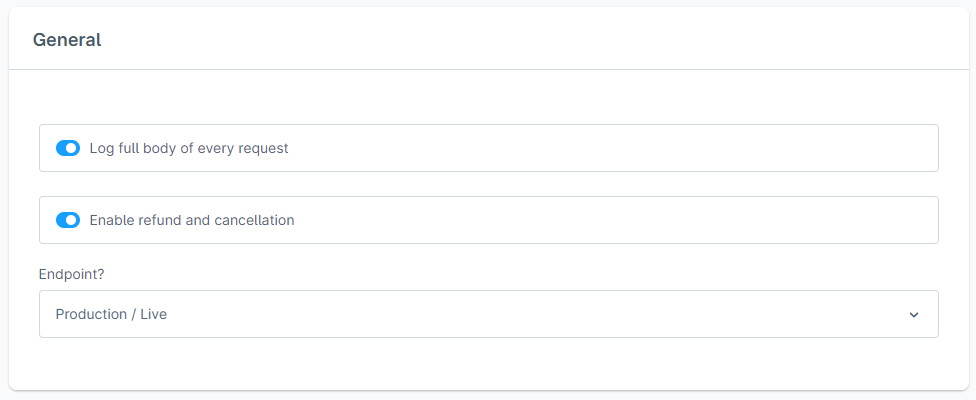

This setting allows you to connect to 1 of the 3 Riverty environments:
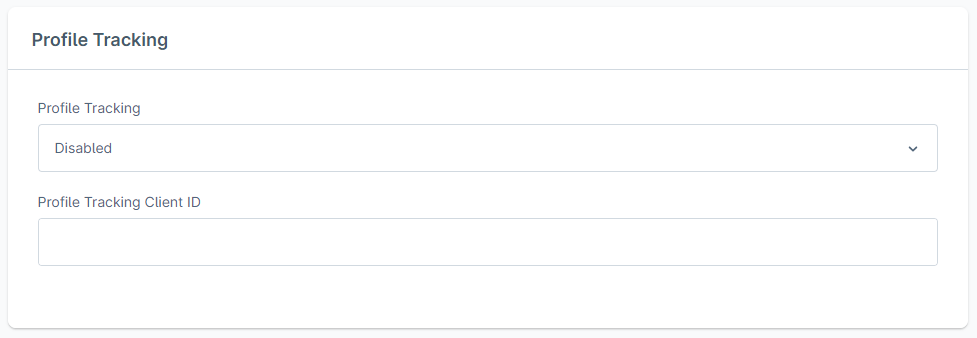
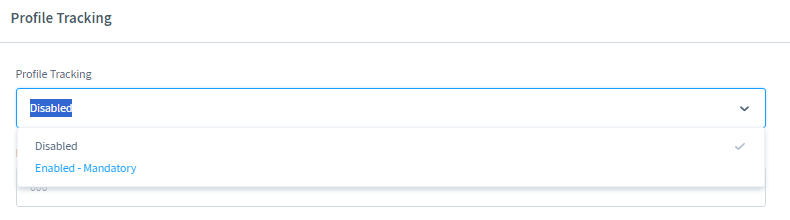
The Profile Tracking feature is used to reduce fraud and increase conversion rates. Use this functionality in accordance with the guidelines of the Riverty agreement during your onboarding process.
Leave your Shopware Settings Panel Open. Choose one of the below options to access and API Key:
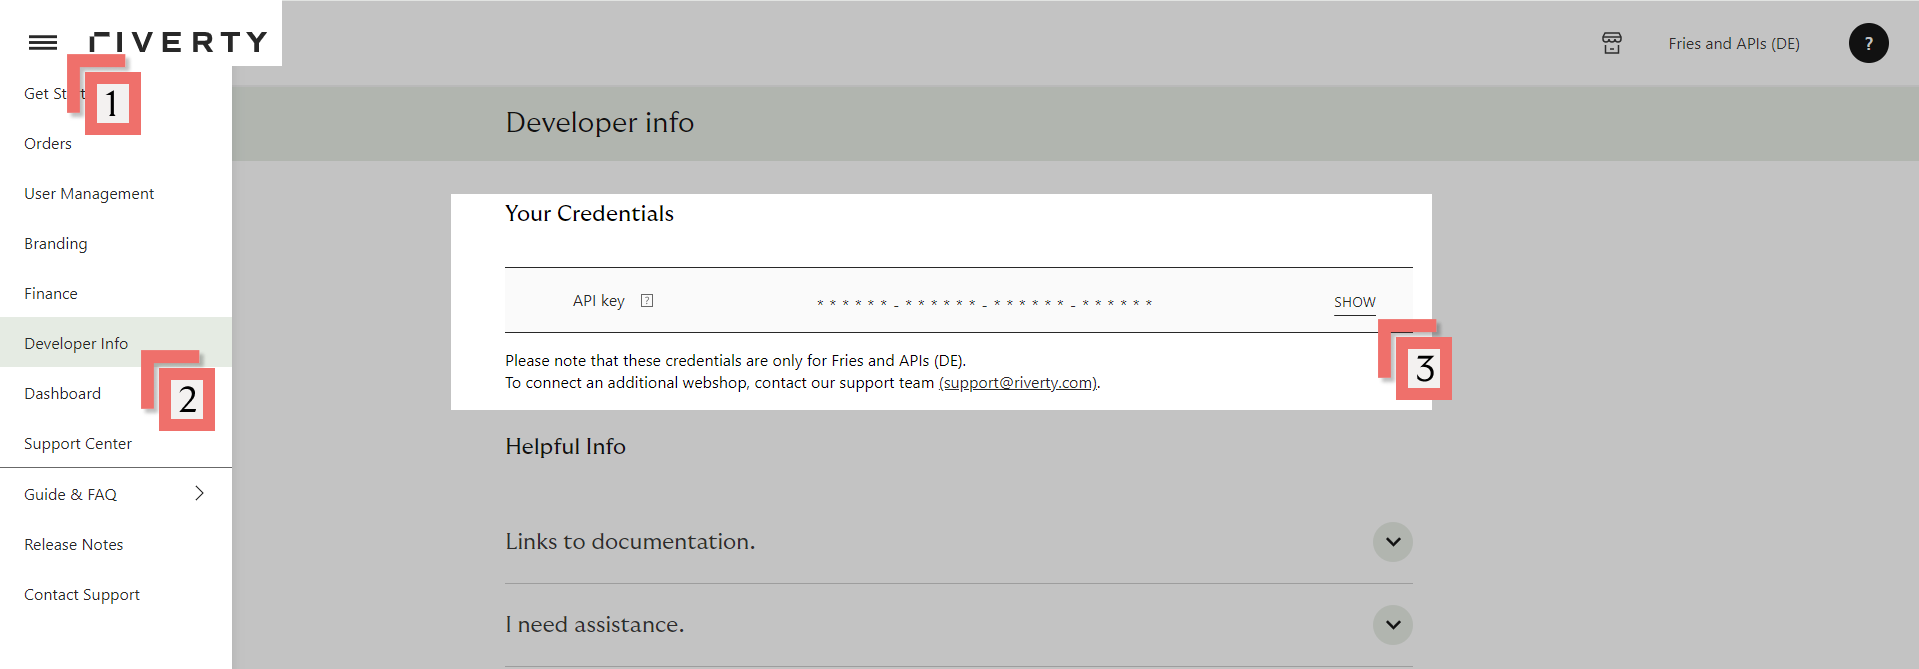
Note, you will need to switch countries/shops in the top-right corner of the Riverty Merchant Portal if you plan on using multiple API Keys

Please refer to the table at the top of this page for which payment methods are available in which countries.

Please note, this step is optional. However, testing your connection reduces the chance of errors on live transactions.
You can self-check your test cases before submission to the Riverty Implementation Manager using the Get Order request. The response will show you how the transactions registered on Riverty’s side. Completing a self-check greatly increases the chances of passing testing on the first attempt. We suggest using Postman to complete a self-check.
| # | Test Case | Order Number |
|---|---|---|
| 1. | Test an order with multiple products | |
| 2. | Test an order with a fixed discount | |
| 3. | Test an order with a percentual discount | |
| 4. | Test an order with a shipping fee | |
| 5. | Test an order with an alternate delivery address | |
| 6. | Test an order with pick-up points (if applicable) | |
| 7. | Test an order with store pick-up (if applicable) | |
| 8. | Test an order with a house number addition | |
| 9. | Test and make sure the VAT is correctly received by Riverty |
It is also necessary to check if the error messages are correctly shown to the customer.
After you tested all standard scenarios for the 14-day invoice you should start testing the other payment methods you activated. Please complete the tables with your order numbers and send them to your Riverty Implementation Manager.
| # | Test Case | Order Number |
|---|---|---|
| D-1. | Test an order with the Direct Debit payment method |
| # | Test Case | Order Number |
|---|---|---|
| B-1. | Test an order with the Business to Business payment method |
| # | Test Case | Order Number |
|---|---|---|
| I-1. | Test an order with 3 month installments | |
| I-2. | Test an order with 6 month installments (if applicable) | |
| I-3. | Test an order with 12 month installments (if applicable) |
| # | Test Case | Order Number |
|---|---|---|
| C-1. | Test an order with the Campaign invoice payment method |
Now that Riverty is live, we only have to check whether orders are also coming in properly. You can test this per Riverty connection by placing a rejected order: